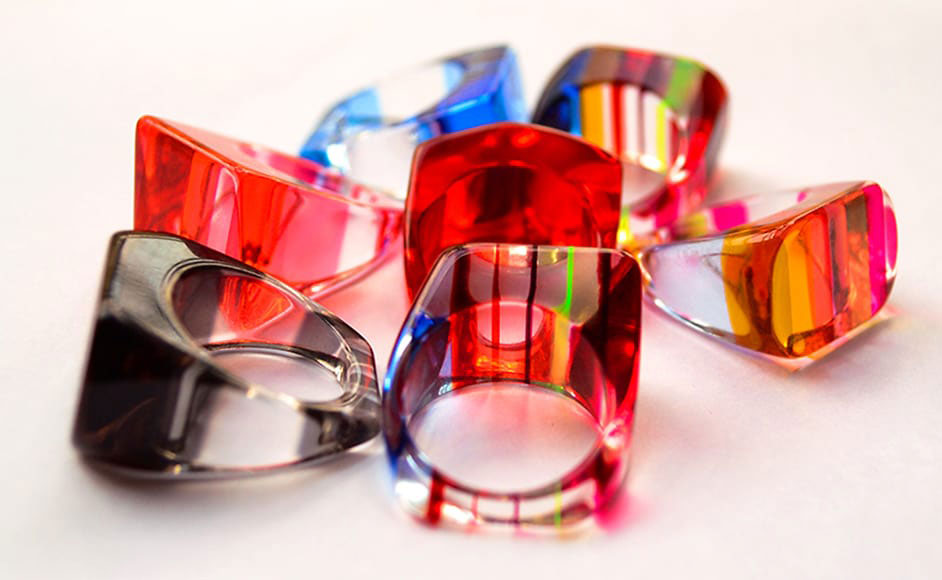
Looking to try out a new hobby and not sure what to do? Working with Resin is becoming a popular hobby as you have a variety of creative projects you can try. One of the more popular and easier projects to start with are Resin Rings. Let us have a look at how you can make your unique Resin rings.
Why are Resin Rings so popular?
If you like being creative and you do not mind going down the DIY road, you can easily make your custom-made resin ring. There are so many ideas you can try out and the techniques involved are all easy and almost everybody can do it. Depending on the products used and how you make your resin rings, they should last for a long time.
You can easily purchase the products from your local crafting stores or there are plenty of products available online. This way you can begin your resin craft project by using an available mold. On the other hand, if you are more experienced, you can start from scratch and begin by creating your own mold. This means you can customize your ring even more. There are plenty of tutorials and videos available online on How to make resin rings, as well as workshops and courses you can take.
What Supplies do you need for Resin Rings?
Preparation is always important, so what materials do you need to get started?
- Casting Epoxy Resin
- Resin Ring Mold (you can make your own) or blank rings with bevel cup, which has some depth
- Resin colors and pigments
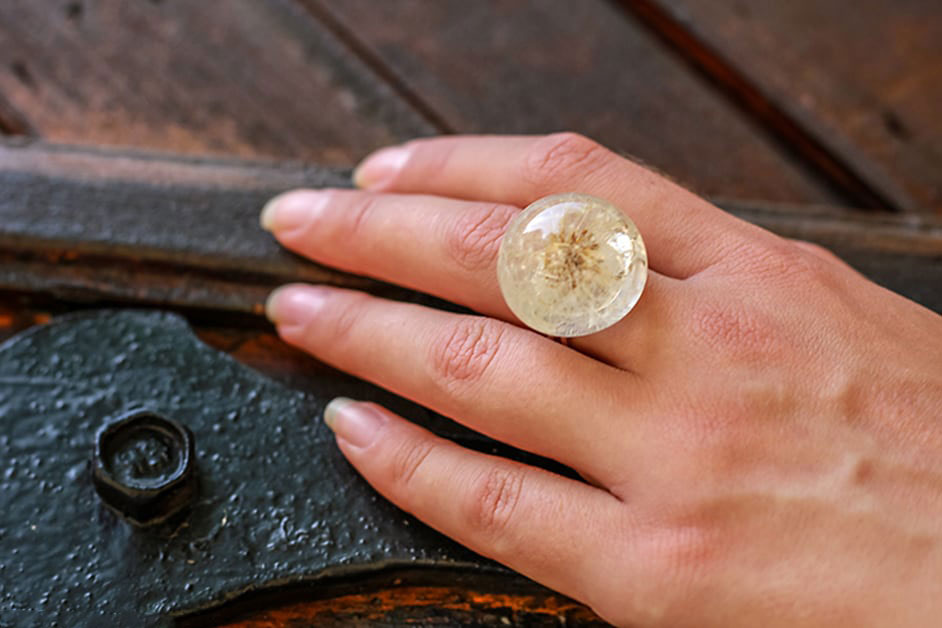
- Fillers: glitter, dried flowers, beads, photos etc.
- Wax Paper or Resin Work Mat
- Latex Gloves
- Small measuring cups 3 or more
- Squeeze condiment bottle (optional)
- Blow Dryer
- Toothpicks and a few popsicle sticks
- An empty box or container to cover your work
- Quick Drying Adhesive
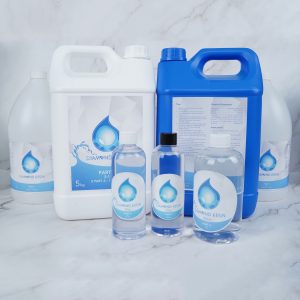
- This thick pour super cast epoxy is designed to be poured over 3/4” per pour
- Super clear results, compatible with pigments and dyes
- Perfect for epoxy tables and deep resin molds
How to make Resin Rings – Tutorial with Bought Mold
Working with a bought mold, here is a Resin rings DIY guide.
Preparation
How to make a resin ring begins with proper preparation. Lay your wax paper down and have everything ready to work with on your worktable, in a well-ventilated space. The wax paper or resin mat is just there to pick up any resin that might drip down. Make sure you have a level table, so the resin mixture can also remain even during the curing process.
Lay your fillers and all your other supplies out, while you are busy with this place your resin and hardener into some hot water. Warming them up will help to prevent any air bubbles and also the mixture will mix more thoroughly.
Note: If you are using a blank ring, you won’t need a mold. Simply place the ring upright in some craft play-doh. Roll the doh out into a long cylinder form, so you can add more than one ring.
Resin Mixing and Coloring
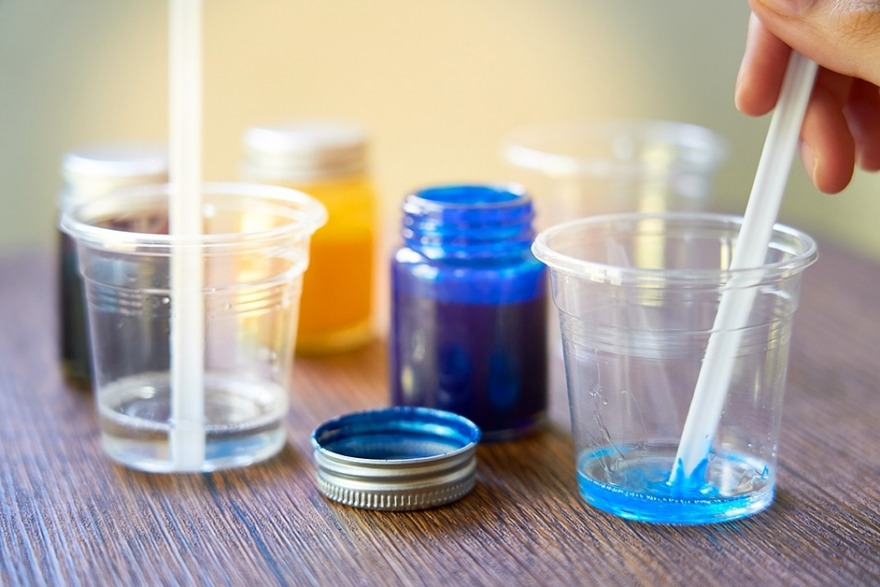
Your Casting Epoxy Resin is easy to work with. You have your Resin and your hardener, which you then mix in a 1:1 ration, or equal parts of each. You should follow the instructions on the labels exactly. You will have two measuring cups, one for the resin and the other for the hardener, each with the same amount inside. Mix these in another cup thoroughly, making sure to scrape the sides and bottom of the cup.
You can now add your resin color to the mixture, blend thoroughly with your mixing tool or popsicle stick. At this stage, you can also add glitter to the mix. If you want to make more than one color, you will have to make these in separate cups with your resin mixture.
The Casting Process
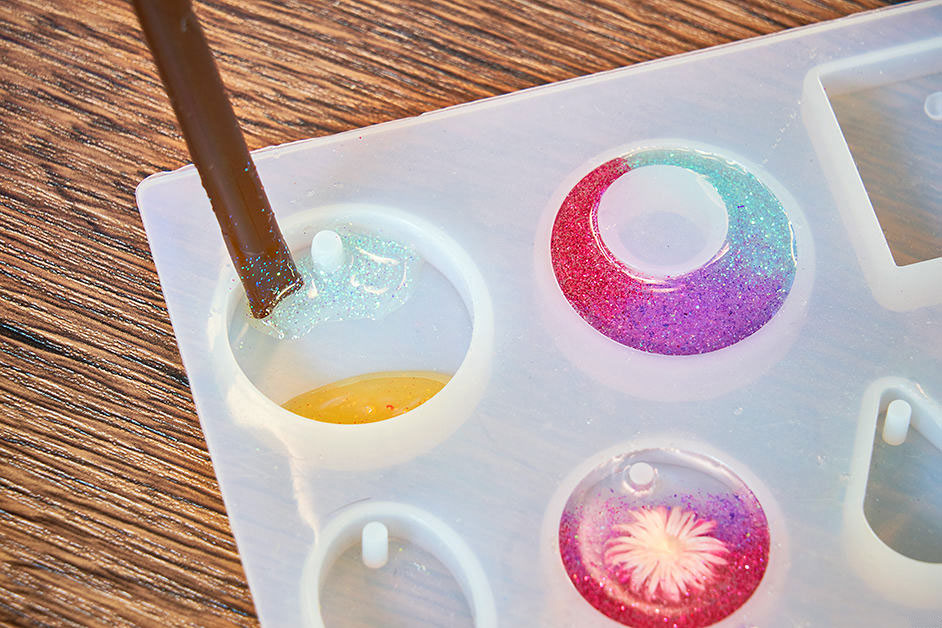
Once you are done mixing, you can then pour into your mold. You can also pour your resin into a condiment bottle, for more precise pouring.
Adding a filler: First, pour a layer of resin into your mold and then add your items. If you need to, pour another layer of resin over the item. Be careful you do not fill your mold too much.
Once your resin has been poured, take a toothpick to get all the bubbles out. You can also take a hairdryer on low with high heat, but make sure to hold it at a distance and slowly bring it straight down. You do not want to blow the resin out of your mold. Since it is such a small piece, a toothpick should be fine.
Note: For your blank ring, you will be pouring straight into the bevel cup. This will only take a small amount of resin, but you will follow the same process as above.
Let it cure
The resin takes 24 to 48 hours to cure completely. Make sure to cover with a box or container, so that no dust or anything else can get into your resin while it is still curing.
Note: For those who do not want to wait for the curing process, you can use UV Resin. You do not have to mix it and it cures in only minutes using a UV light. The UV resin is great for smaller pieces like jewelry.
Demolding
Once the resin has fully cured, you can remove the items form the mold. The correct curing time should be on the resin product label along with instructions. Sometimes sharp edges form, so handle carefully when demolding your item.
You can also use a mold release spray, which helps with the demolding process. This spray should be applied before you pour in your resin mixture into the mold.
Polishing and Finish
Once you have demolded your item and you find some sharp edges, you can remove these with a fine-grit sandpaper. To get a nice shine, you can also use some resin polishing paste. Apply the polish with a soft cloth. Using Crystal Clear Resin will also add to the clear gloss effect.
There are also specific molds you can purchase which have a smooth surface and provides the smooth surface. A polished silicone mold is perfect for your resin jewelry projects. The round ring molds provide a solid resin ring. Other jewelry molds provide different shapes and designs, which you can then simply glue onto a ring base.
How to make simple Resin Ring Molds
How to make a resin ring molds? This may take a few tries before you get it right. The simplest way to make your own mold is to buy a Silicone mold-making kit. All you need to go along with this is a choice of a ring or rings you want to replicate. You can easily purchase some cheap rings from local stores, as you do not want to ruin your personal rings.
The silicone mold kit should have instructions for you to follow, but here are a few basic steps.
- The kit comes in two parts A and B
- Mix equal parts (ratio 1:1) thoroughly until the color seems even.
- You can eventually form the mixture into a ball
- Press down and flatten a little
- Take your chosen ring and press it into the mold
- Leave the ring in for about 25 minutes and then remove it.
- Wait for the mold to form properly for about 48 hours, after this, you can add your resin.
You can then follow the process as described above to make your resin rings.
Custom made Resin Ring Molds
You can go even further to create your resin ring custom designs by using clear silicone. This process is a bit more difficult than simply using a kit, but it is a lot more fun to do. Let us have a look at how you can make Resin rings DIY.
You will need:
- Small tea-light candles
- Craft knife, carving tools, a pin
- Piece of pipe or another tool that matches your ring finger diameter
- Small Brush to brush away the wax pieces
- Appliance to melt the wax
- Sugru, which is moldable silicone rubber putty.
First, take the candle out of its metal covering and remove the wick, then put it back. Next, melt the wax inside its container and allow it to set again. The reason you do this is to create more of an even wax consistency. The wax before you do this is not very even or smooth and this will affect the outcome of your resin ring. The best way is to use an electric stove and slowly heat it.
While the wax is still a little soft, you can make your hole in the middle using your pipe or another tool. Once you have done this, place the wax in some cold water to set properly. Remove the centerpiece you have cut and then remove the candle holder from the rest of the wax.
You can now cut or sand the hard wax to create a more even ring shape. You can now carve out your design using the tools at your disposal. Finally, sanding it down a little for a more even surface. Work carefully with the wax, making shallow incisions, you do not want to slice right through or create cracks.
Keep some cold water handy and place the wax into it now and again. This is just to keep the wax from melting too much when handling it. Next, use the Sugru to create your mold, a similar process to your silicone mold. Sugru is a type of putty made of silicone rubber, which can then be molded into whatever shape you need it to be. Commonly used in repairing a huge variety of items from electronics and more. You have 30 minutes to work with it and after 24 hours you will have a flexible and strong silicone rubber.
You can even take it a step further by making your own mold mixture from silicone caulk and cornstarch. Combine the silicone and cornstarch in a 1:1 ratio. Search online for Oogoo, and you should come up with some tutorials showing you how to make this using these simple ingredients that might be found around the house.
Once you have made your custom mold, you can then move on to create your unique resin rings.
Frequently asked Questions
How long do Resin Rings last?
As with many things, if you look after it, the resin rings should last a long time. This will depend on how well the ring was made and how well the ring is looked after.
Tips to help your Resin Rings last longer
- Take note of the resin quality and type. Epoxy Resins are best for this type of craftwork. Is the resin made for doming or molding? What brand is best? Always consider these questions.
- All Resin yellow’s overtime, but depending on the brand, you can get products that will lengthen the time before yellowing sets in.
- You should still store and keep your resin ring away from direct sunlight. You can wear your ring outside but avoid prolonged exposure.
- Avoid leaving your ring where there is extreme heat, as it can become damaged. For example, do not leave it sitting in direct sunlight in your car.
- The resin can pick up scratches on the surface. Rather take off your resin ring before you wash dishes or do gardening.
- Many creams, lotions, perfume might have chemicals that could cause long-term damage, especially harsh chemicals such as nail polish remover. Try to remember to remove your ring before using any of these products.
- Keep your ring in a cool, dark, preferably airtight container.
- If you have a mixed media ring, such as metal and resin, again using high-quality metal is important to how long your resin ring will last.

